Forest Loss#

The High-resolution global forset change results from time-series analysis of Landsat images in characterizing global forest extent and change.

The ‘first’ and ‘last’ bands are reference multispectral imagery from the first and last available years for Landsat spectral bands 3, 4, 5, and 7. Reference composite imagery represents median observations from a set of quality-assessed growing-season observations for each of these bands.

MISLAND North Africal uses the Hansen Global Forest Change v1.8 to asses forest loss in the North Africa action zone. For more details of the Hansen Global Forest Change see the user notes

Data Preprocessing and Download on GEE#

  1. Open the Google Earth Engine Code and paste the following code to import the Hansen Global forest change v1.8, OSS North Africa Action zone**(study area) and **Geometry for forest areas in North Africa.

 1var image = ee.Image("UMD/hansen/global_forest_change_2020_v1_8"),
 2 table = ee.FeatureCollection("users/derickongeri/NorthAfrica"),
 3 geometry =
 4 /* color: #d63000 */
 5 /* shown: false */
 6 /* displayProperties: [
 7   {
 8     "type": "rectangle"
 9   }
10 ] */
11 ee.Geometry.Polygon(
12     [[[-10.330249200933336, 37.60222178276082],
13       [-10.330249200933336, 31.415726509598066],
14       [24.562328924066662, 31.415726509598066],
15       [24.562328924066662, 37.60222178276082]]], null, false);
  1. To select the forestLoss by year band and export the product paste the following code.

 1var dataset = image.clip(table);
 2
 3var forestLoss = dataset.select('lossyear');
 4
 5Map.addLayer(forestLoss);
 6
 7Export.image.toDrive({
 8  image: forestLoss,
 9  description: 'ForestLoss',
10  scale: 30,
11  region: geometry,
12  maxPixels:  1e13,
13  fileFormat: 'GeoTIFF',
14  folder:'GEE_classification',
15  formatOptions: {
16    cloudOptimized: true
17  },
18    skipEmptyTiles: true
19  });
  1. Save the code and run it to export the forestloss by year data.

Data Preprocessing in Qgis#

  1. Download the data form Google drive to your desired location on your local machine and load it to Qgis to view the outputs.

Opening the Forestloss data on Qgis

Opening the Forestloss year data on Qgis#

  1. On the Qgis menu-bar navigate to Raster>*Miscellaneous*>*Merge* to merge the downloaded tiles

Merging

Merging the Forestloss year data#

  1. On the Merge dialog, Input layers option choose the selectAllSelect All option and click on OK.

Select All layers

Selecting All layers to merge#

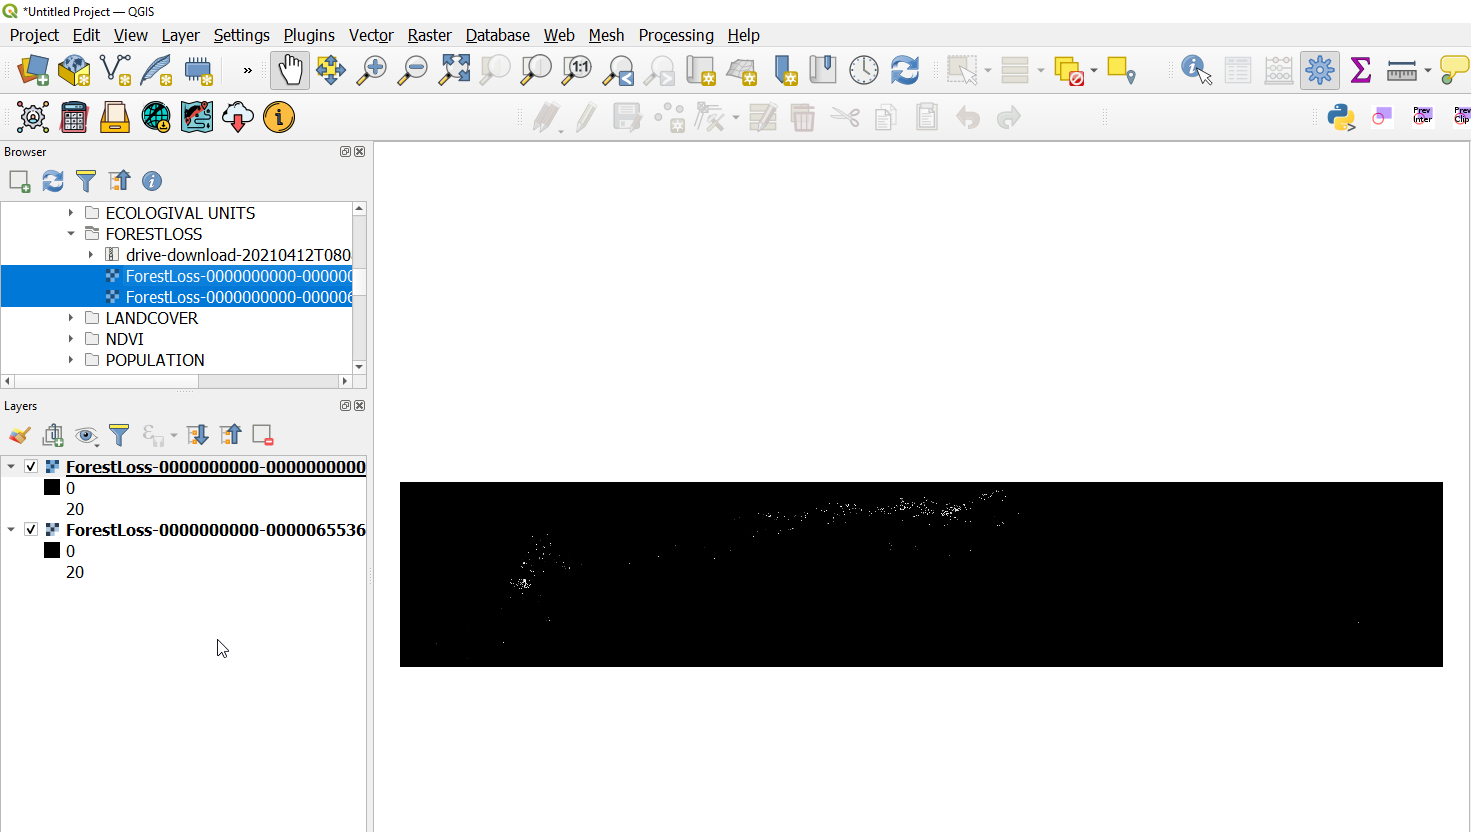
save the output to a temporary layer so as to export it with desired properties in the next step.

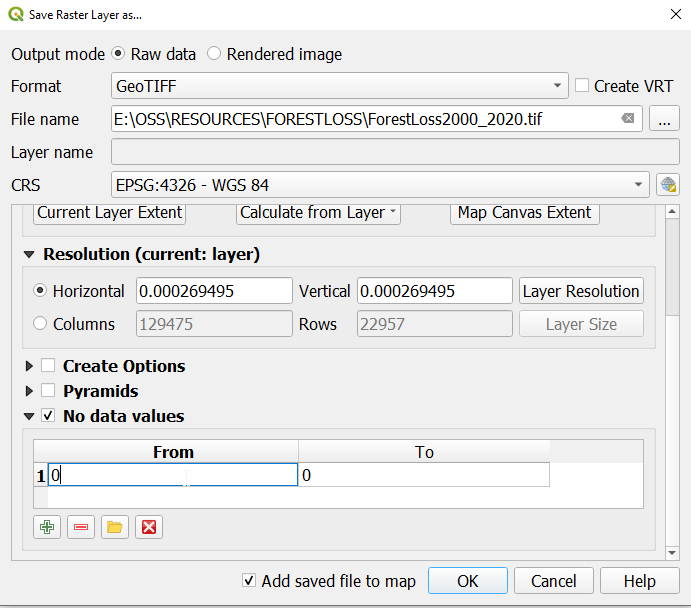
  1. Right click on the layer and navigate to Export>*Save as* option and save the layer to your desired location with the appropriate name.

Note

The forest loss by year raster has values ranging from 1-20. The values represent the loss year form 2001 to 2020 hence to set the “nodata” value to 0 on the Save Raster Layer as dialog, check the No data values and input the values as shown in the figure below:
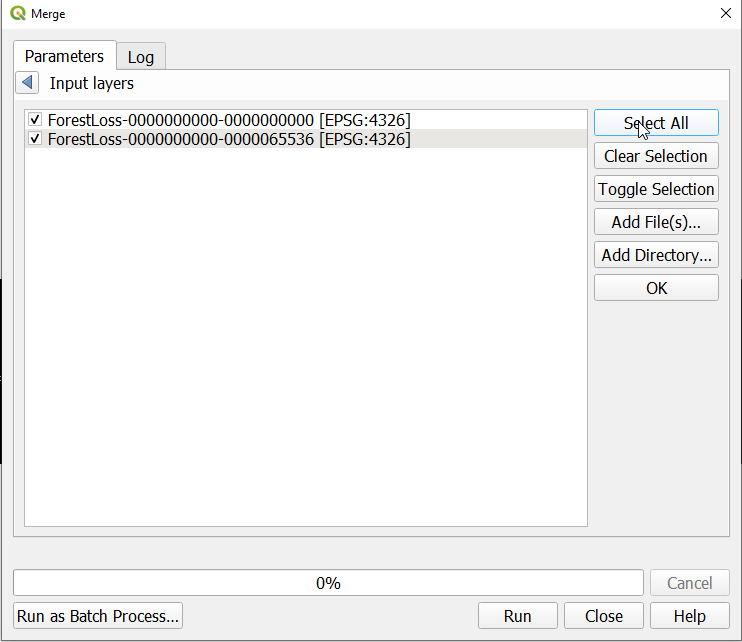
saving the layer

Saving the Forest Loss year data#

Upload to MISLAND Service#

saving the layer

Uploading the data to MISLAND service#